"There are no shortcuts to any place worth going."
Beverly Sills

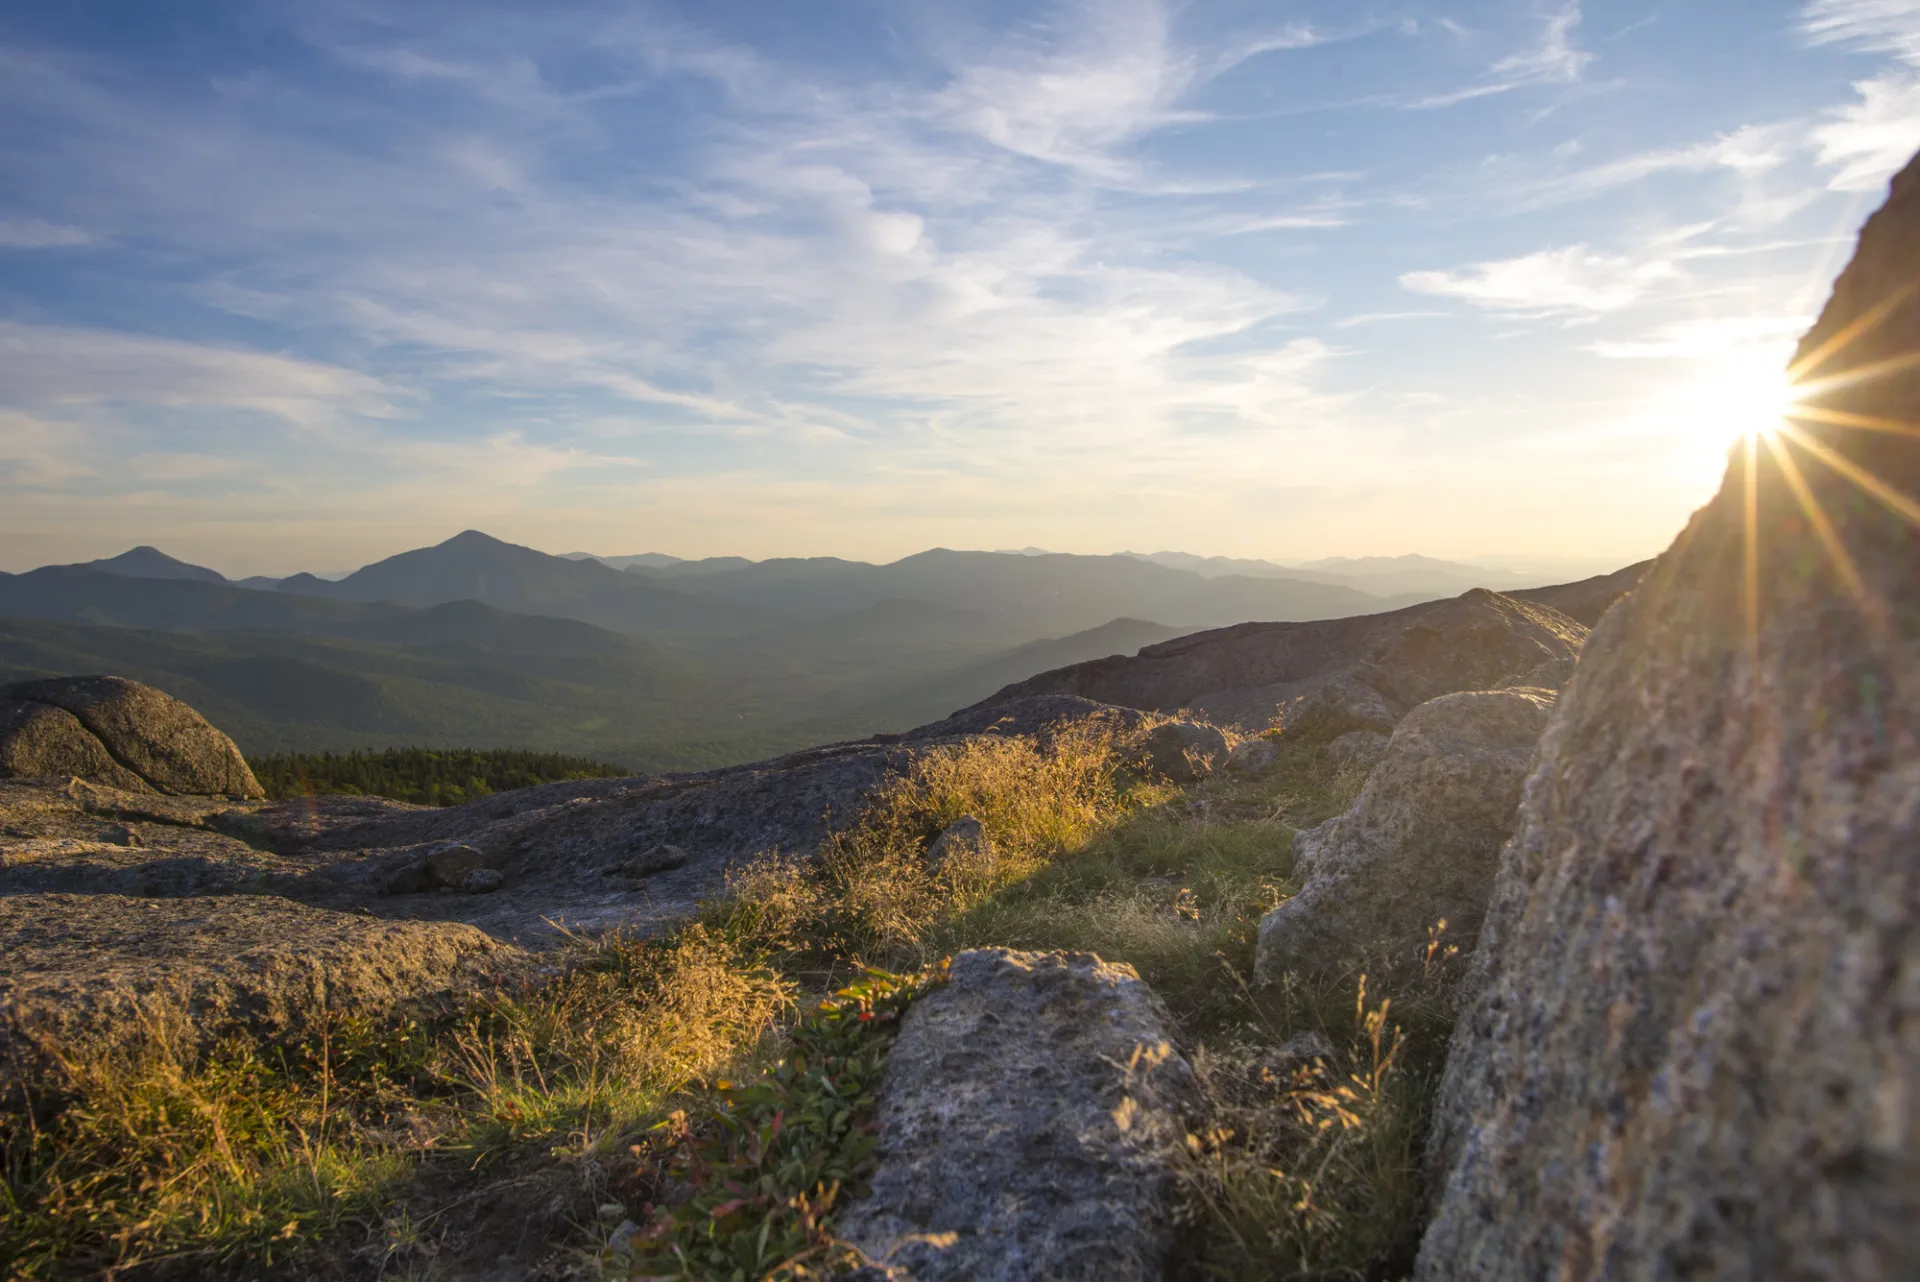
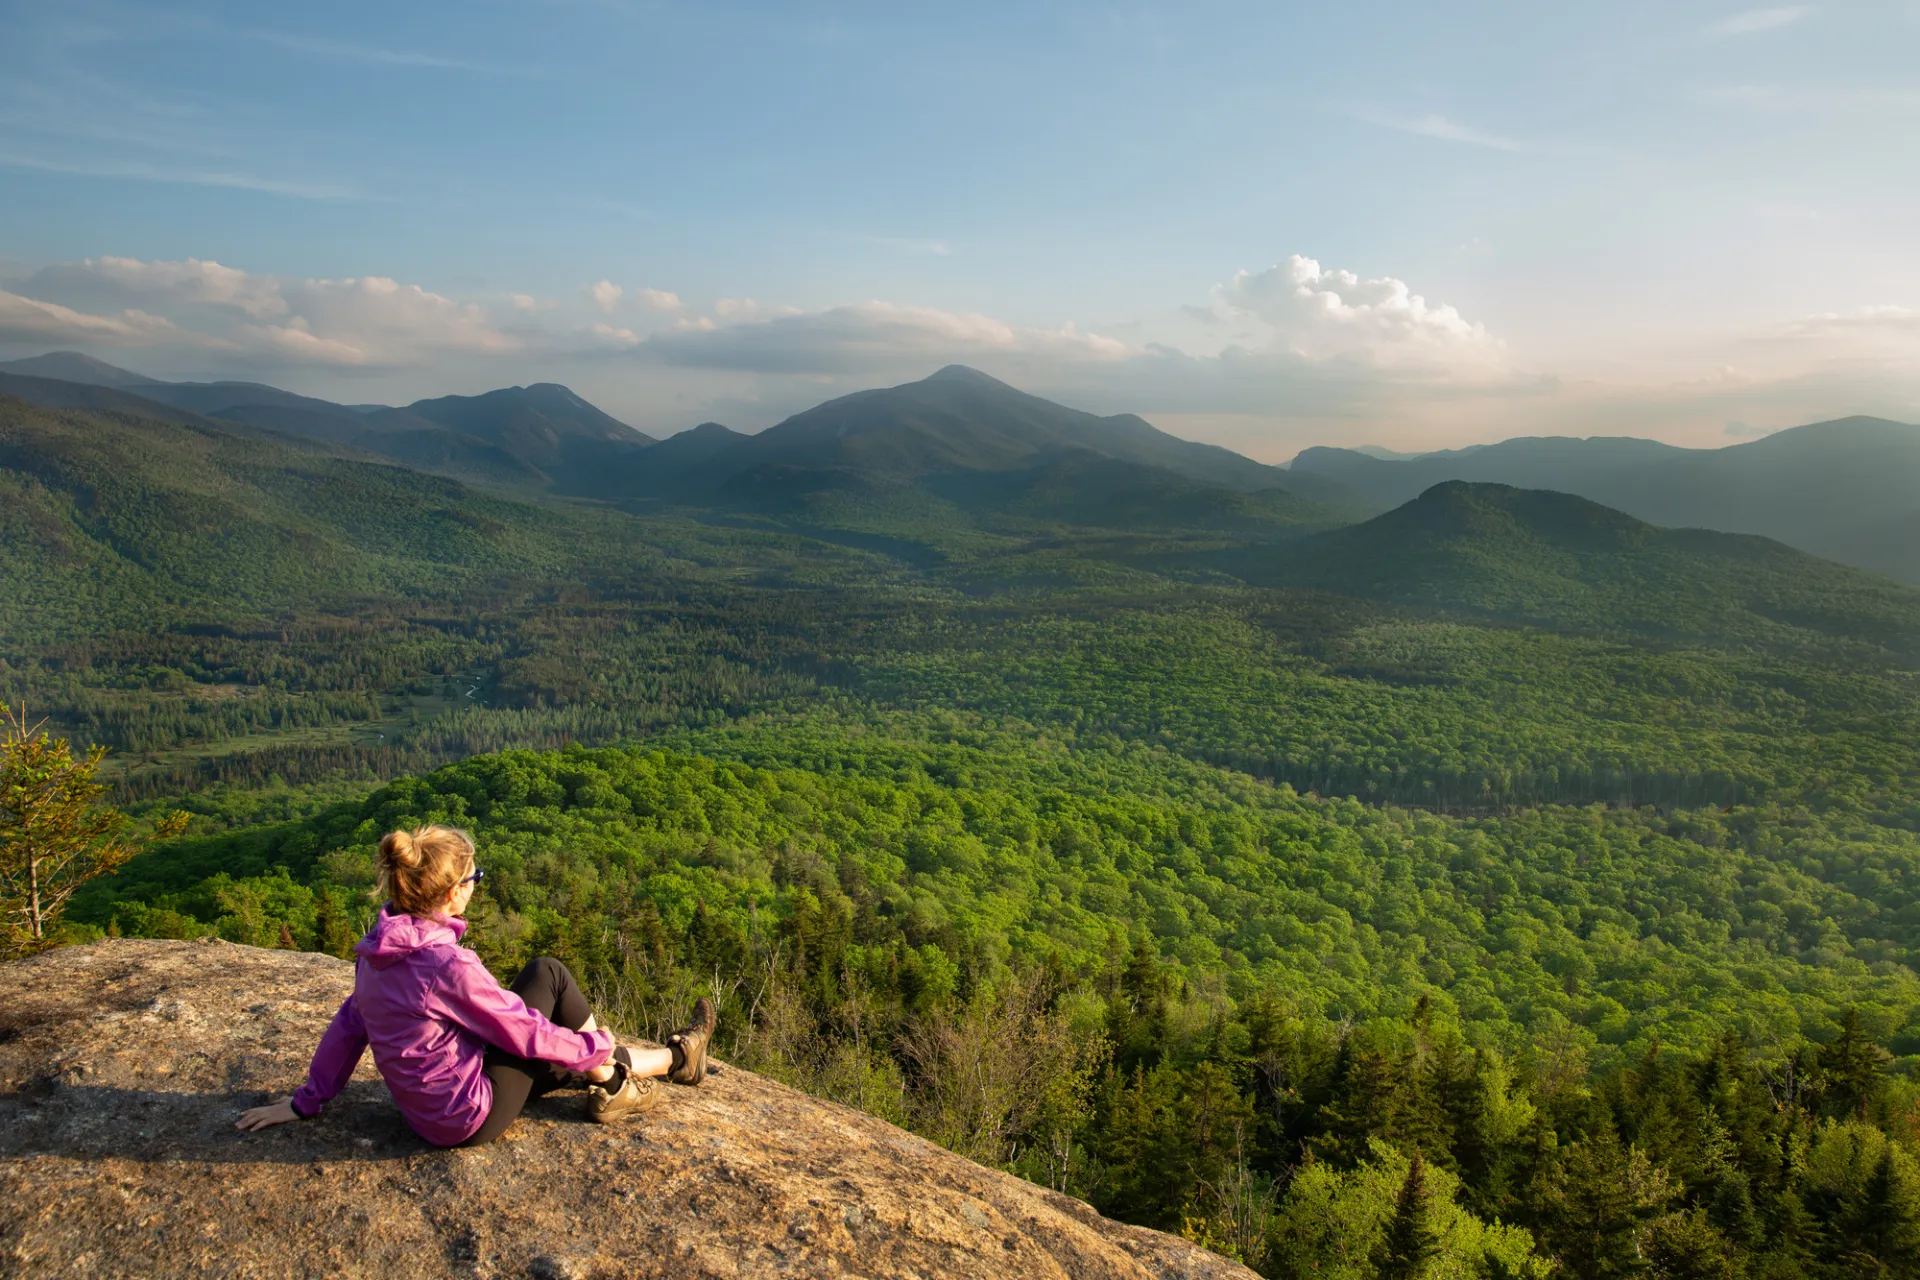
Hi friends. It’s me, your honorary blogger who loves playing in the outdoors, loves the Adirondacks, and loves helping others play outdoors in the Adirondacks while staying safe, happy, and eager to come back for more. Lake Placid, NY is home to short hikes, moderate hikes, and longer hikes, making it the perfect hiking destination for any hiker!
I’m here to go over some hiking safety and etiquette tips for all of you — whether you are a seasoned hiking pro or an absolute beginner — to make sure all of you stay safe this summer and to make sure our trails maintain a clean and healthy glow for all who come to visit! Follow these ten tips, and you will be well on your way to spectacular views and beautiful memories.
Tip #1: Choose the right hike for you
Okay friends. The first step is simple but the most important: choose a hike that fits your current ability level (or, if you are in a group, choose a hike for the person with the least experience). I’m all for challenging yourself, but you want to do so safely.
The first thing to look at is distance. Remember, what goes up must come down, including you! So if you pick a trail that is two miles long from the trailhead to the summit, that means you are doing a four mile hike. Keep in mind — you are not a bike or a car. Gravity is not going to let you just coast downhill. Hiking down requires effort, too, so make sure to consider that when selecting your hike!
Some more food for thought: running four miles is not the same as hiking four miles. Adirondack trails are proudly known for their ruggedness. They are rocky and love to essentially go straight up. That means they are steep (fun, but steep). So don’t gauge your hiking ability based on your running ability; hiking requires much more effort and time.
The other factor to consider when choosing a hike is elevation. The grade (steepness) of a one-mile hike with 900 feet of elevation is going to be more difficult than a four mile hike with 900 feet of elevation. That said, shorter hikes are not always easier!
So, before choosing a trail, make sure to look at both the round-trip distance and the total elevation.
Tip #2: Wear the right footwear
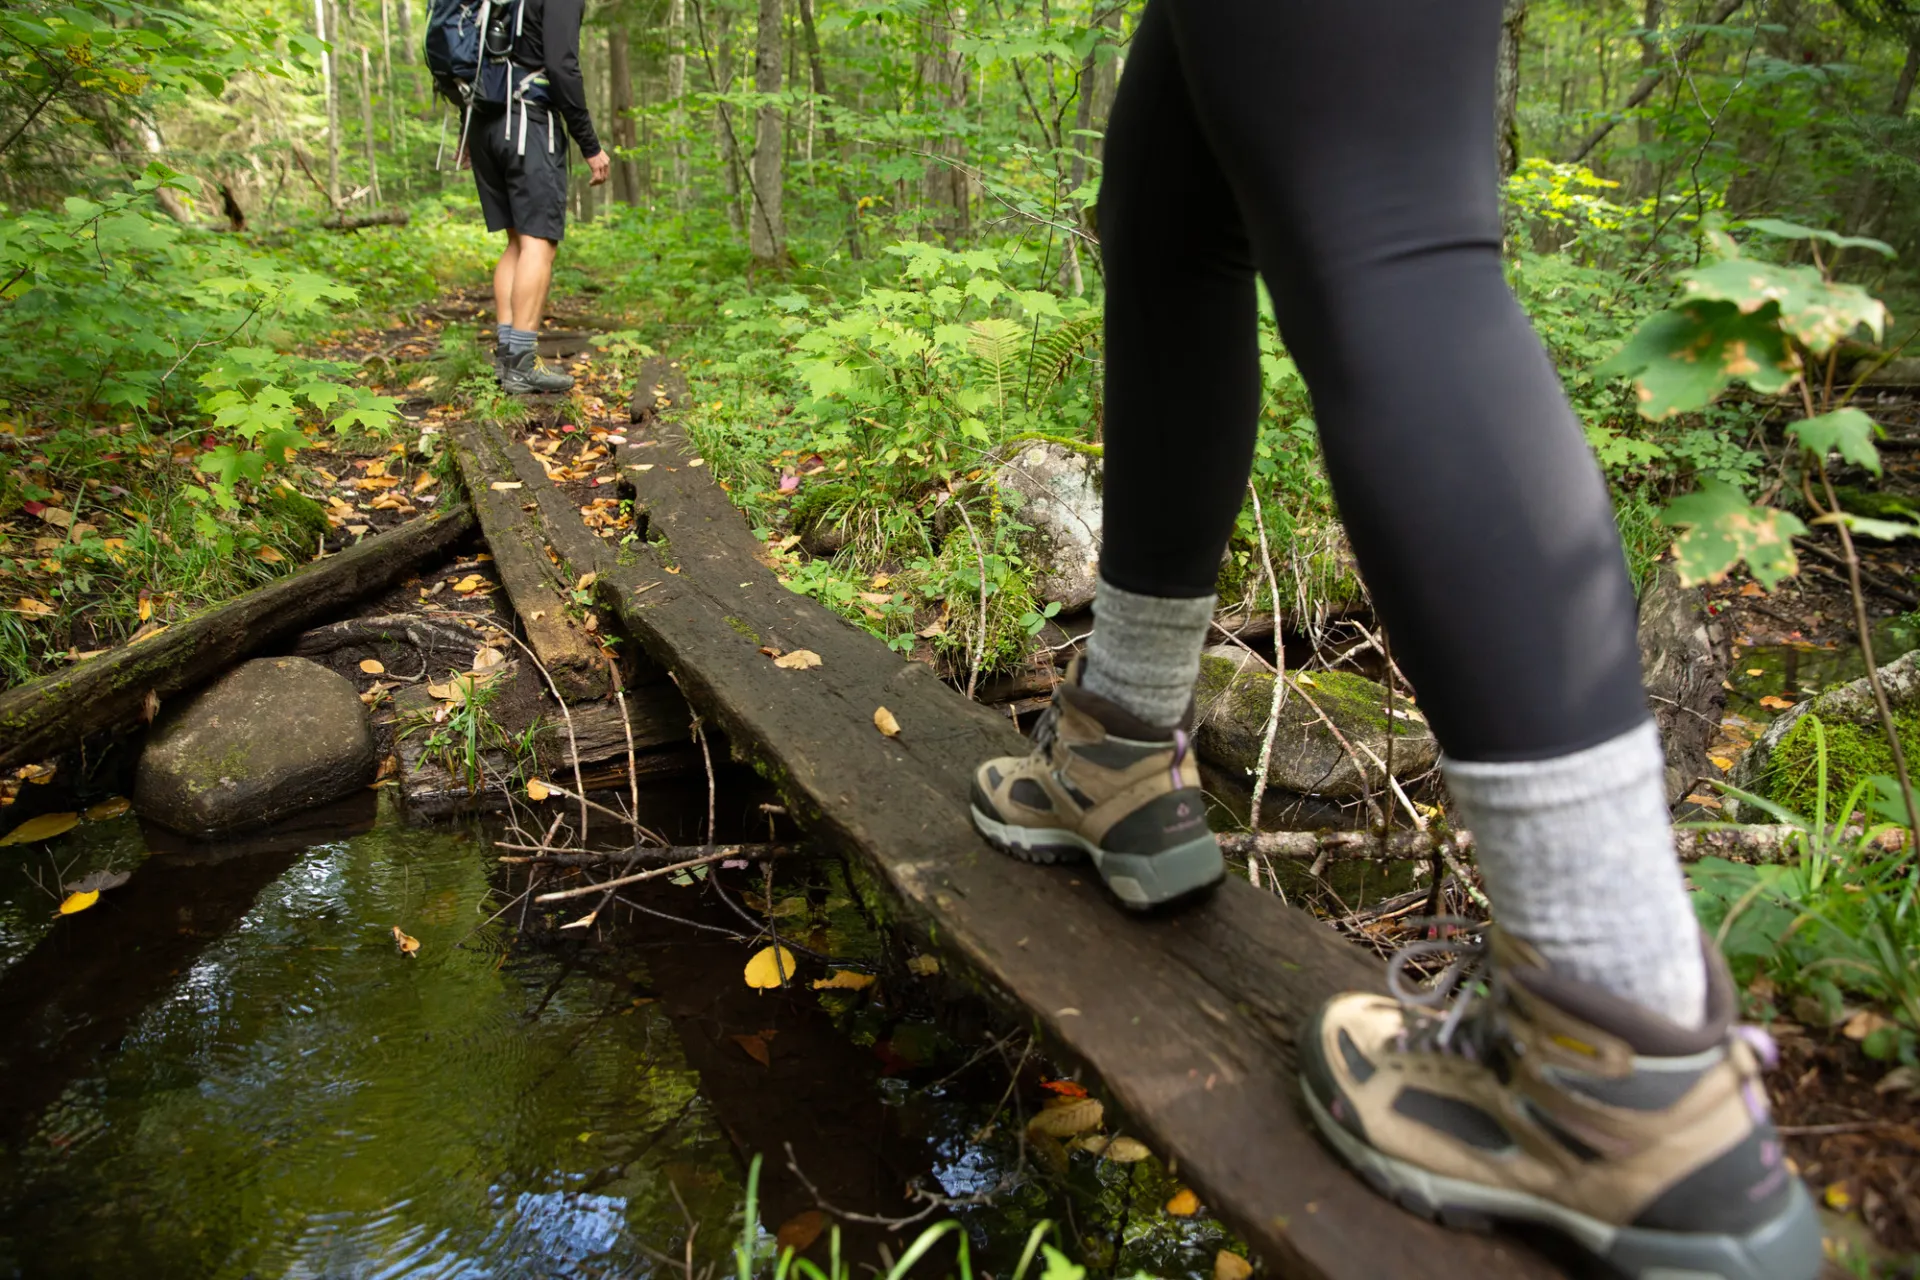
Say it with me: “sandals are not hiking shoes.”
Have you ever tried to play soccer or basketball in sandals? It’s rough. Yes, it is doable, but it’s awkward, clunky, slower, and your feet get way more beat up with cuts, bruises, and abrasions (not to mention having a much higher likelihood of twisting an ankle or slipping and hurting another part of your body). There are sport-specific shoes for both soccer and basketball for a reason; the shoes are designed with the movement of that sport in mind.
Hiking is the same way. Hiking-specific boots have all sorts of details designed to keep you and your feet healthy: breathable material, grippy bottoms, and increased stability and support around the ankles, to name a few. Many styles are even waterproof!
Please, please, please wear proper footwear for hiking. Sandals will increase your likelihood of injury — whether a twisted ankle, a broken bone, or slipping — something that can end with a catastrophic injury.
Unlike a soccer field or a basketball court, you can’t just hobble or get carried off to the sidelines when you get injured on a mountain. If your injury is serious enough, you have to get rescued off the mountain by other individuals (often by one of our beloved forest rangers). That means you are stuck where you are, waiting for people to hike up to get you before hiking down with you. So please: wear proper footwear!
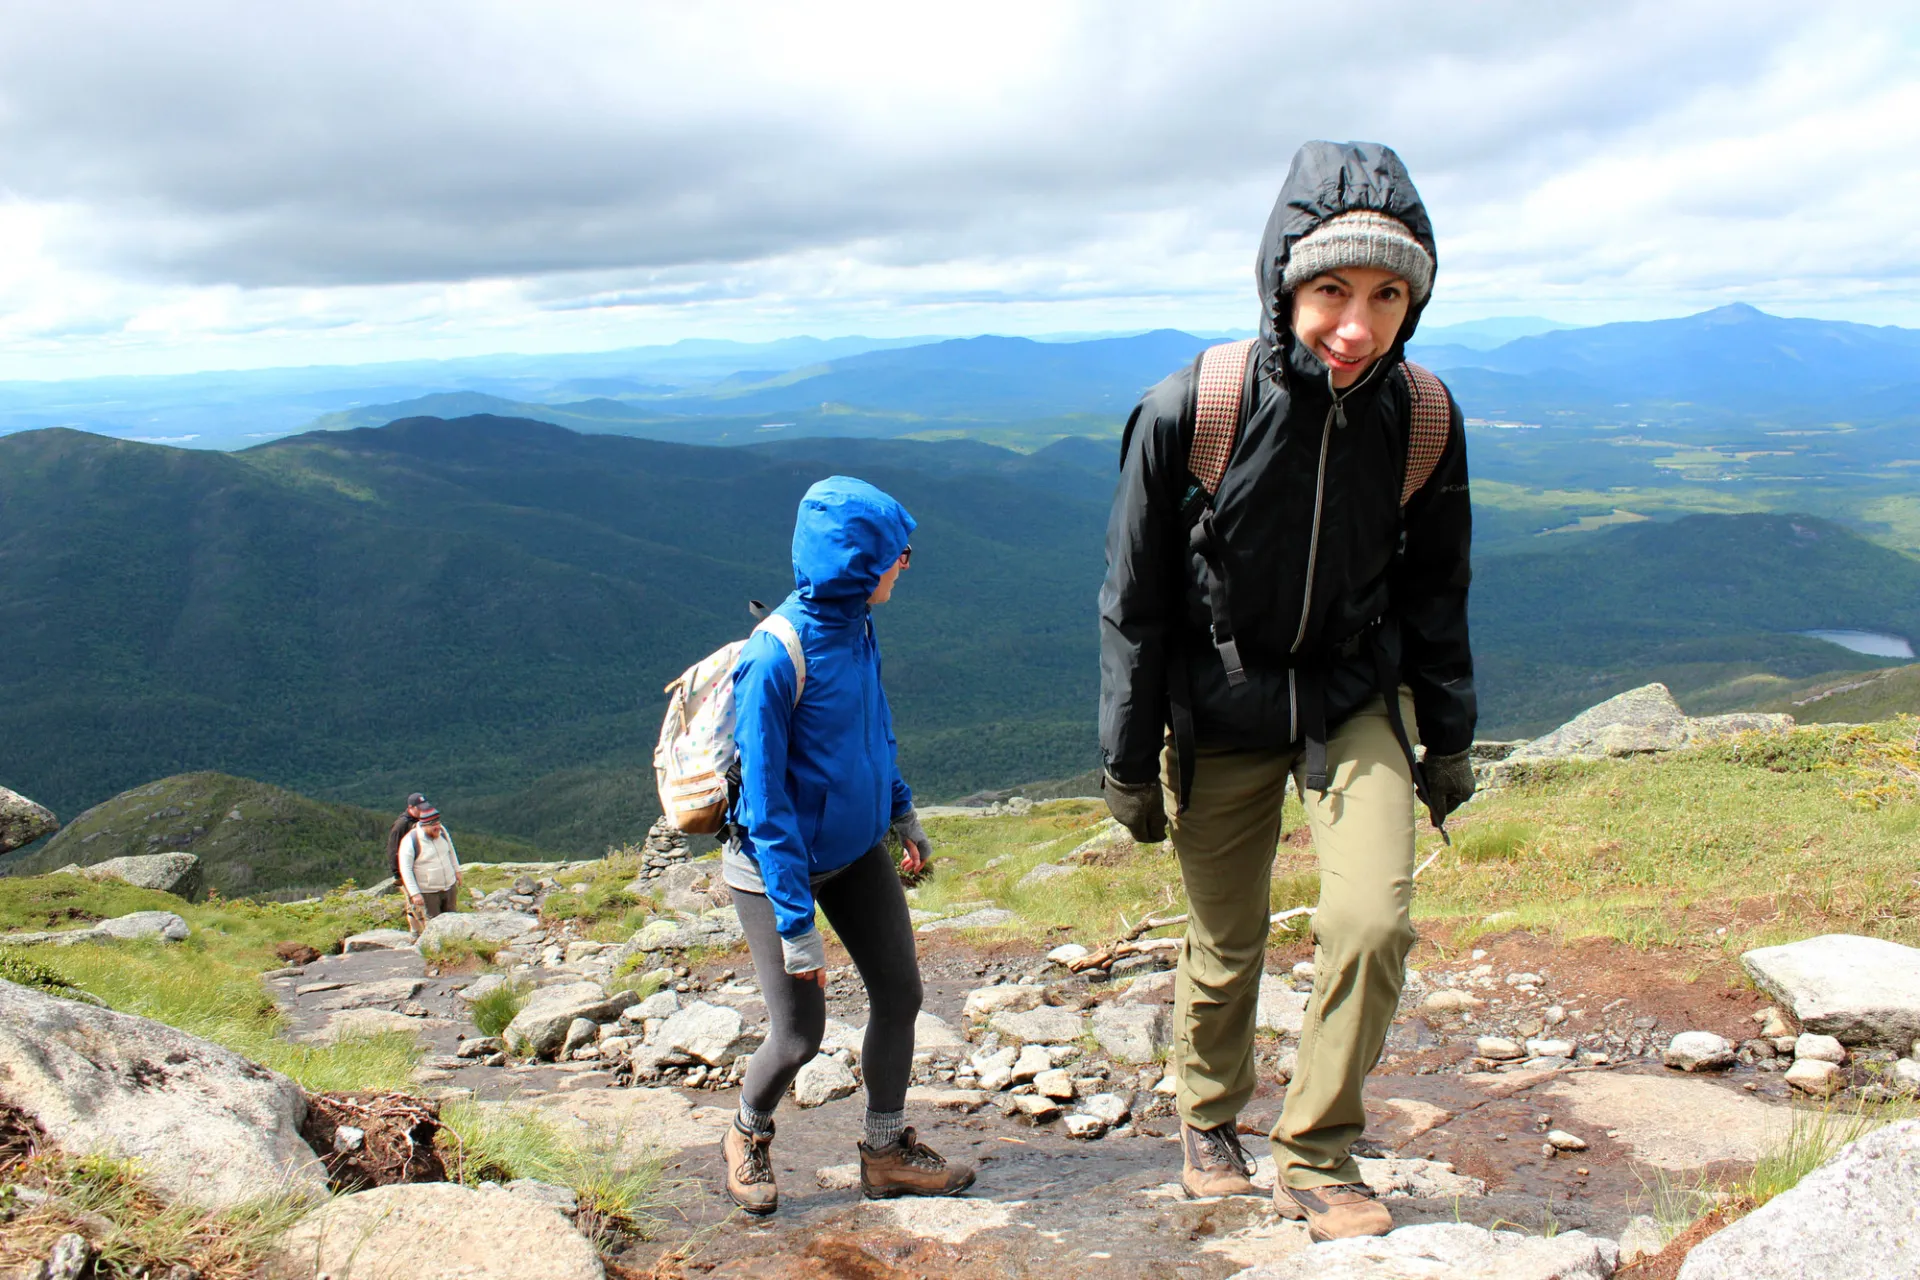
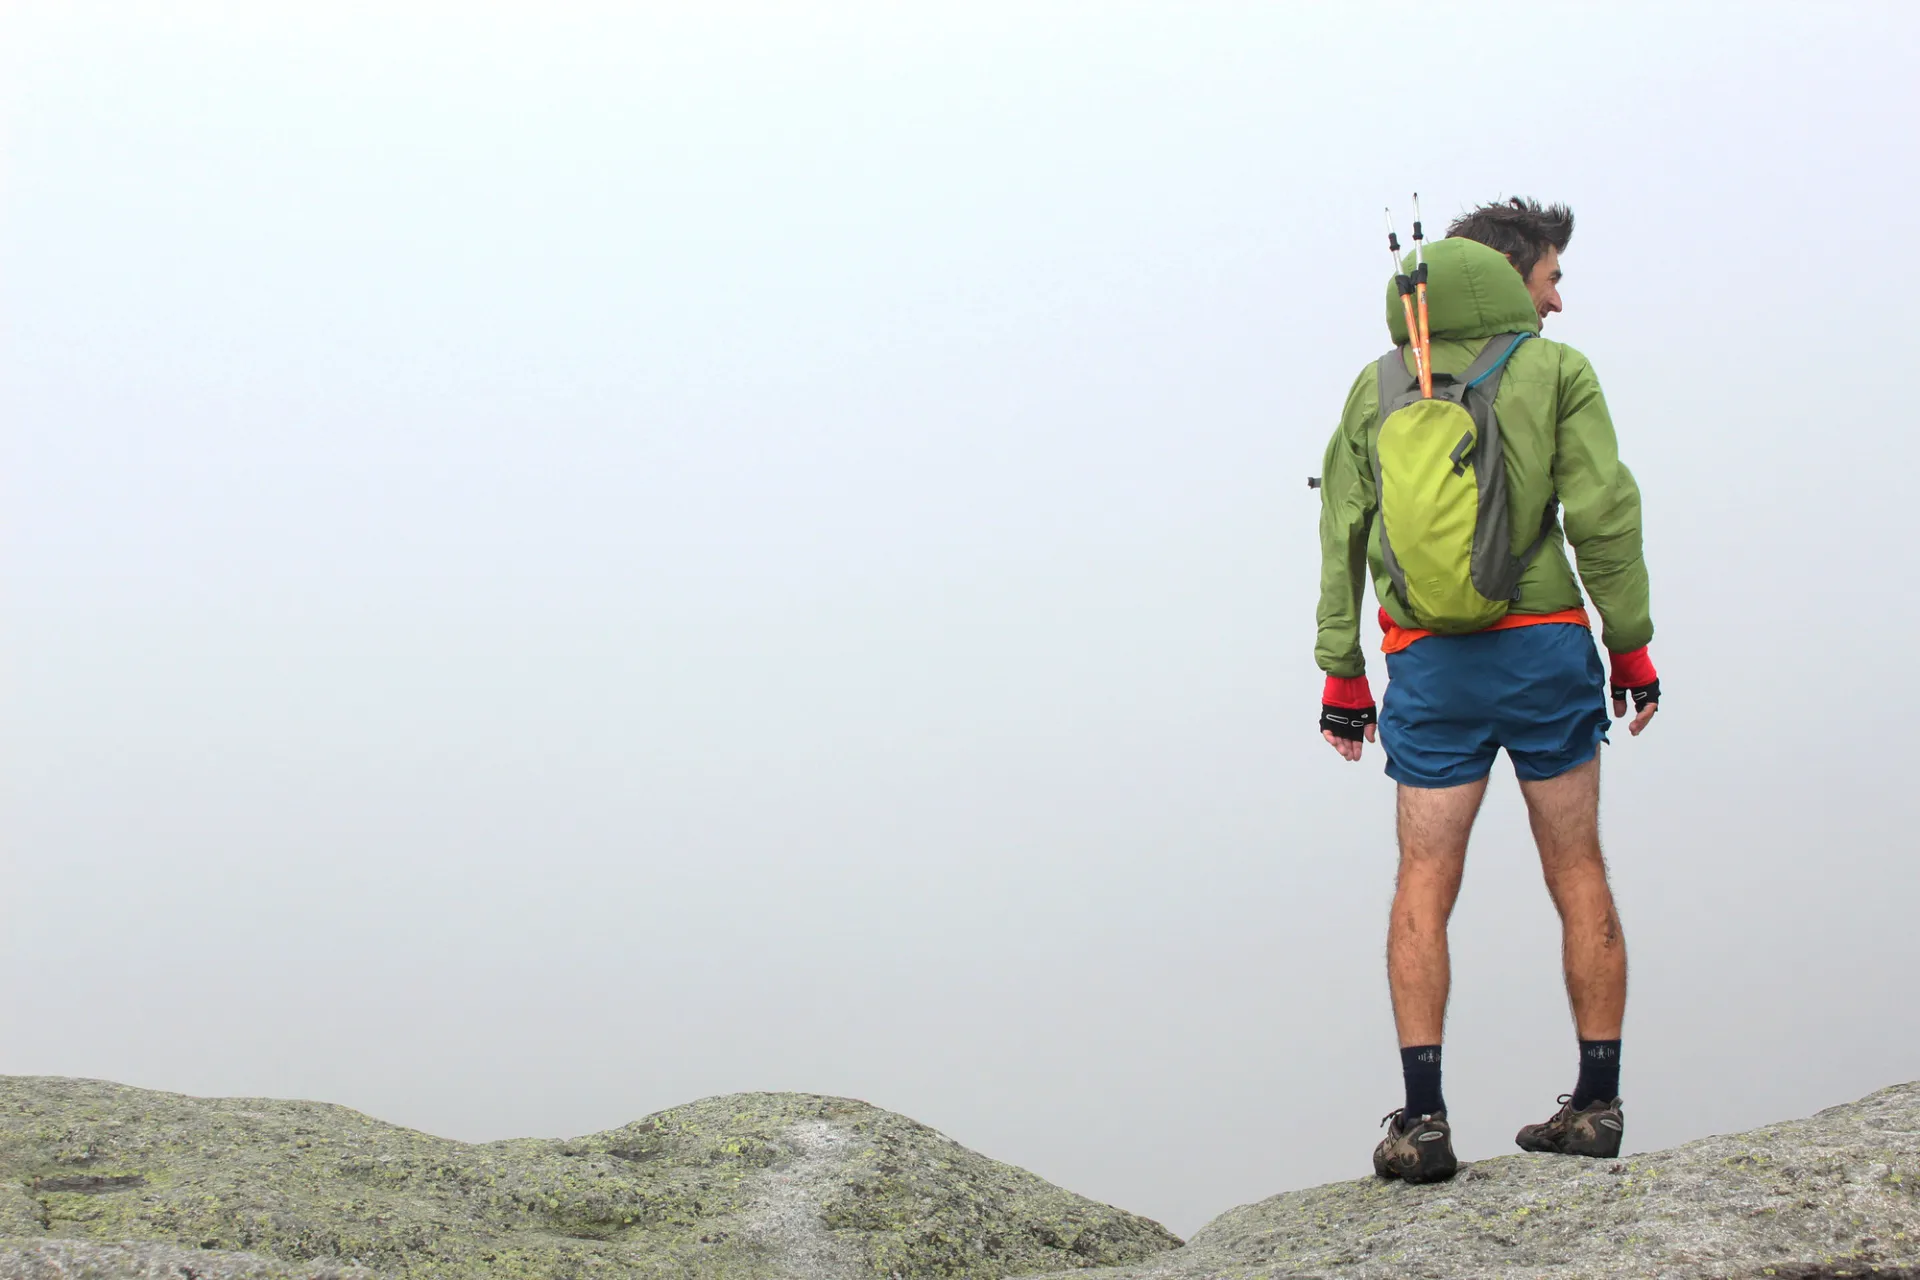
Tip #3: Wear (and bring) proper clothing
Moisture-wicking material is your best friend for hikes, socks and undergarments included (trust me). Merino wool, polyester, and nylon are GREAT materials for hiking!
Avoid wearing material that absorbs moisture and doesn’t dry out quickly, especially denim and cotton. It isn’t so much that denim and cotton are the “worst offenders,” but of all the unsafe material seen on hikers, denim and cotton appear most frequently. You can overheat and chafe easily in these materials, but far more dangerously, you have a much higher chance of becoming hypothermic during a colder hike since your material cannot breathe and dry out.
On that note: layer, layer, layer! The summits of mountains can be cold and windy. The taller the mountain, the more changes in weather you will experience. Wear enough layers to stay warm, but shed enough layers to avoid sweating through what you have on or that windy summit will feel a bit chilly!
Some people sweat more than others. If that’s you, it’s a great idea to just bring another shirt to change into at the summit so you can stay dry and comfortable.
On any given hike, it’s always a great idea to have a short sleeve shirt as a base layer and carry (or wear) a long sleeve and a packable shell — something to help resist the wind that can be tightly packed to not take up space in a bag. Packable down jackets are recommended as well, especially for taller mountains with chilly summits!
How do you carry all of this? Grab a backpack! Hiking-specific packs are recommended as they distribute weight better on your body and are more secured in place. A regular school backpack can shift and bounce around, especially when you have to bend at the waist, which happens often in hiking! Having a pair of hand and feet warmers in your bag is also a great idea, which can be picked up at any outdoor gear store.
Tip #4: Snacks and hydration are key
Hiking is great exercise, but longer exercise requires hydration and taking in calories. That said, make sure you bring enough nutrition to eat and drink. It is not only incredibly uncomfortable and anxiety-producing to run out of nutrition along a hike — it can also be very dangerous. Planning ahead and be prepared to take care of yourself while you are out there.
Great snack ideas include trail mix, granola, peanut butter and jelly sandwiches, bars, fig newtons, fruit, pretzels, and jerky, just to name a few. Whatever you choose to eat, all wrappers, peels, and leftovers must leave the trail with you (more on this in Tip #5).
Water is a great hydration option, but water alone over a long period of time may not be enough. Bringing a sports drink with electrolytes — or even a drink mix packet to mix with water if you need it — is a great idea.
Be sure to snack and drink often throughout your hike! It’s better to take in small amounts of food and hydration consistently than to take in nothing, have your energy crash, and then try to eat and drink a large amount in order to feel better. Your goal is to maintain your energy levels as best you can, so consistency will work in your favor.
Tip #5: “Pack out” all waste! (Yes, this includes both garbage and poo)
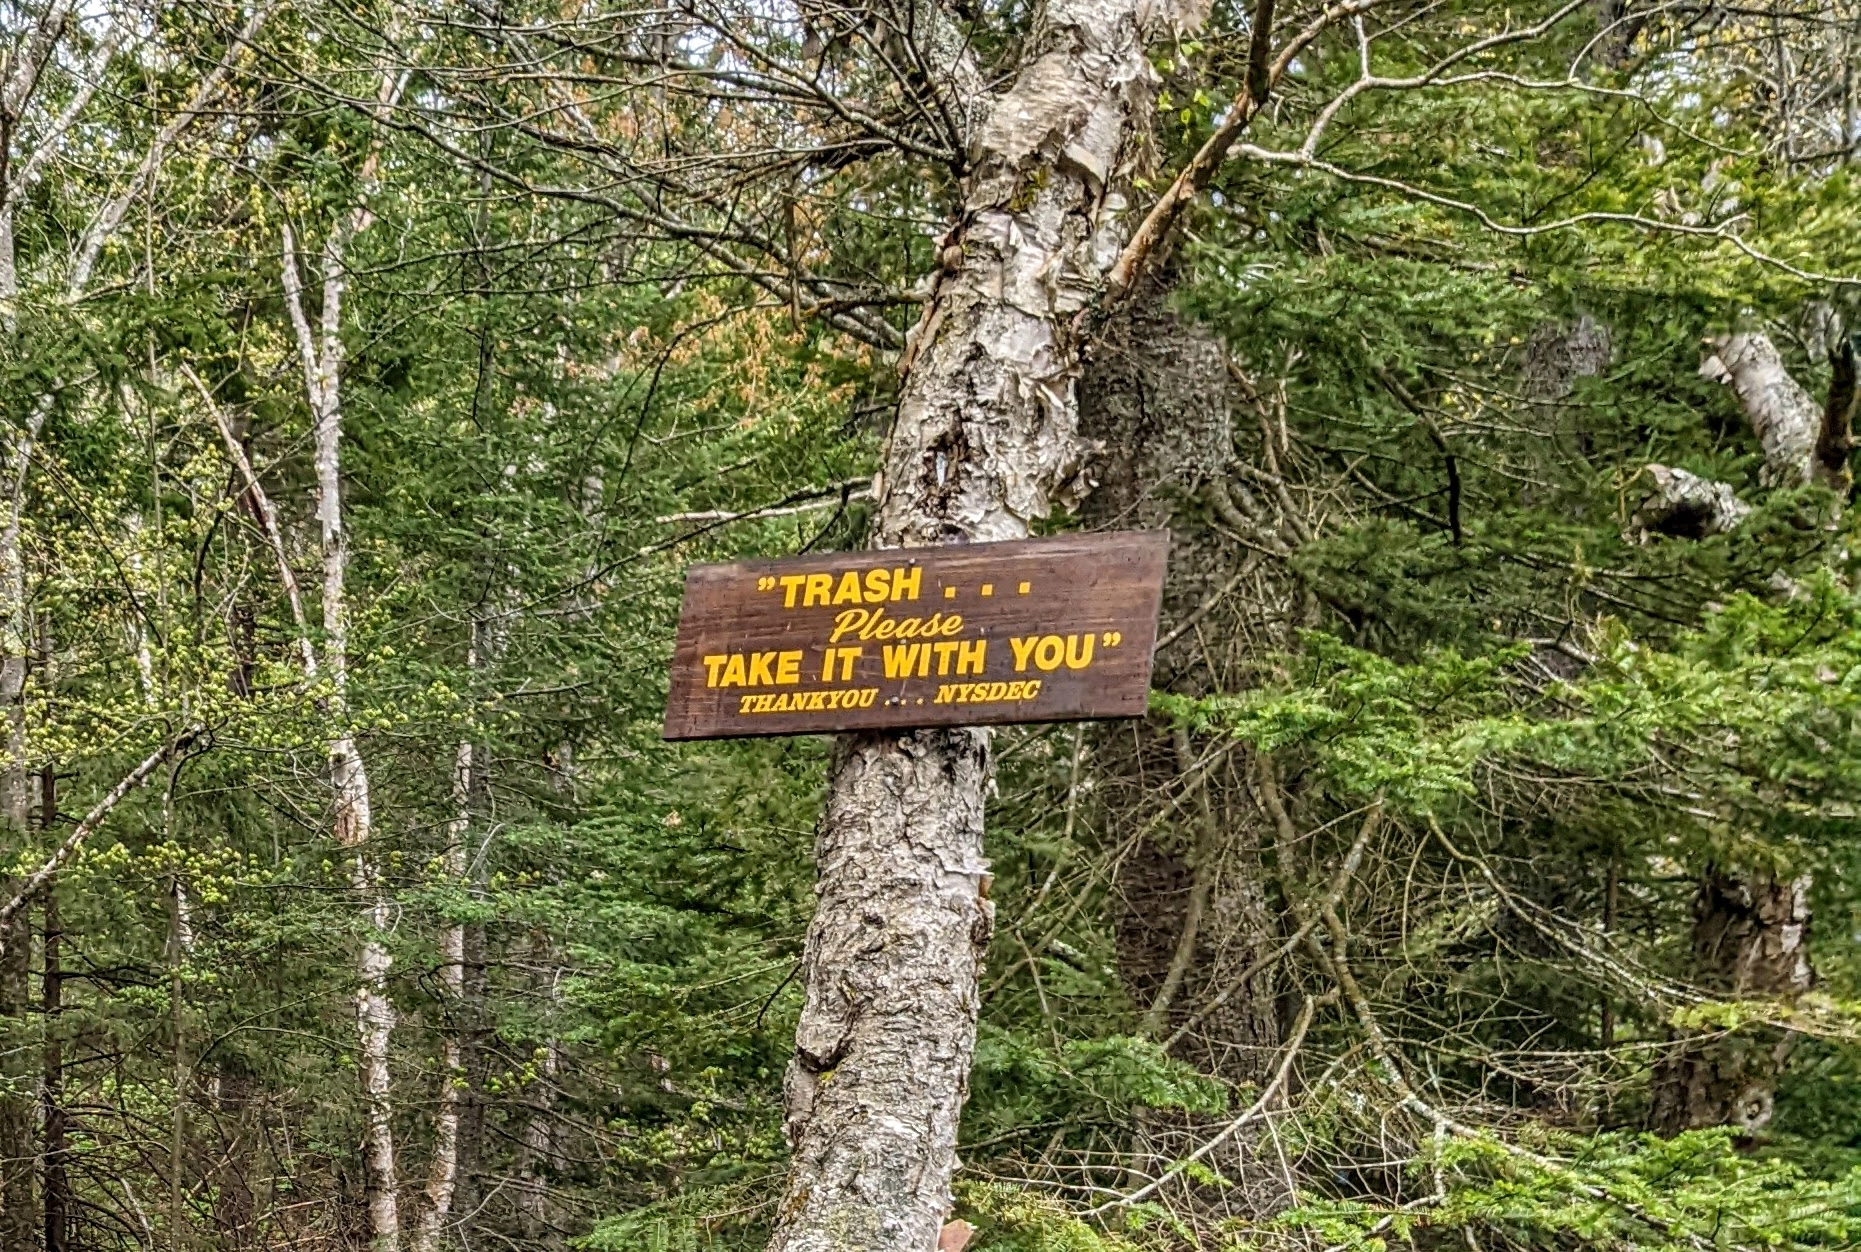
Whether created by a human or a dog, all waste must be discarded from the trail surface. Let's start with garbage. Any wrappers, peels from fruit and vegetables, crust of bread, or leftover snacks must be repacked into your bag and carried out with you.
As for poo (everyone's favorite topic), whether you or your dog need to go #2, all poo must be handled in one of two ways: carry it or bury it.
1. Carry it
Pack out animal or human waste in a waste baggie that you carry with you for such an occasion. This means bagging up the waste, tying it shut, and physically carrying the baggie with you until you can discard it properly in the next garbage can you see after your hike ends.
2. Bury it
Bury animal or human waste in the ground based on the following guidelines:
-
Walk 200 yards from the trails and from any water source (this is about 70 large adult-sized steps).
-
Dig a hole 6-8 inches deep with a stick.
-
Bury your waste and recover the hole.
That's it! Easy, peasy.
Tip #6: Study your route in advance and bring a map
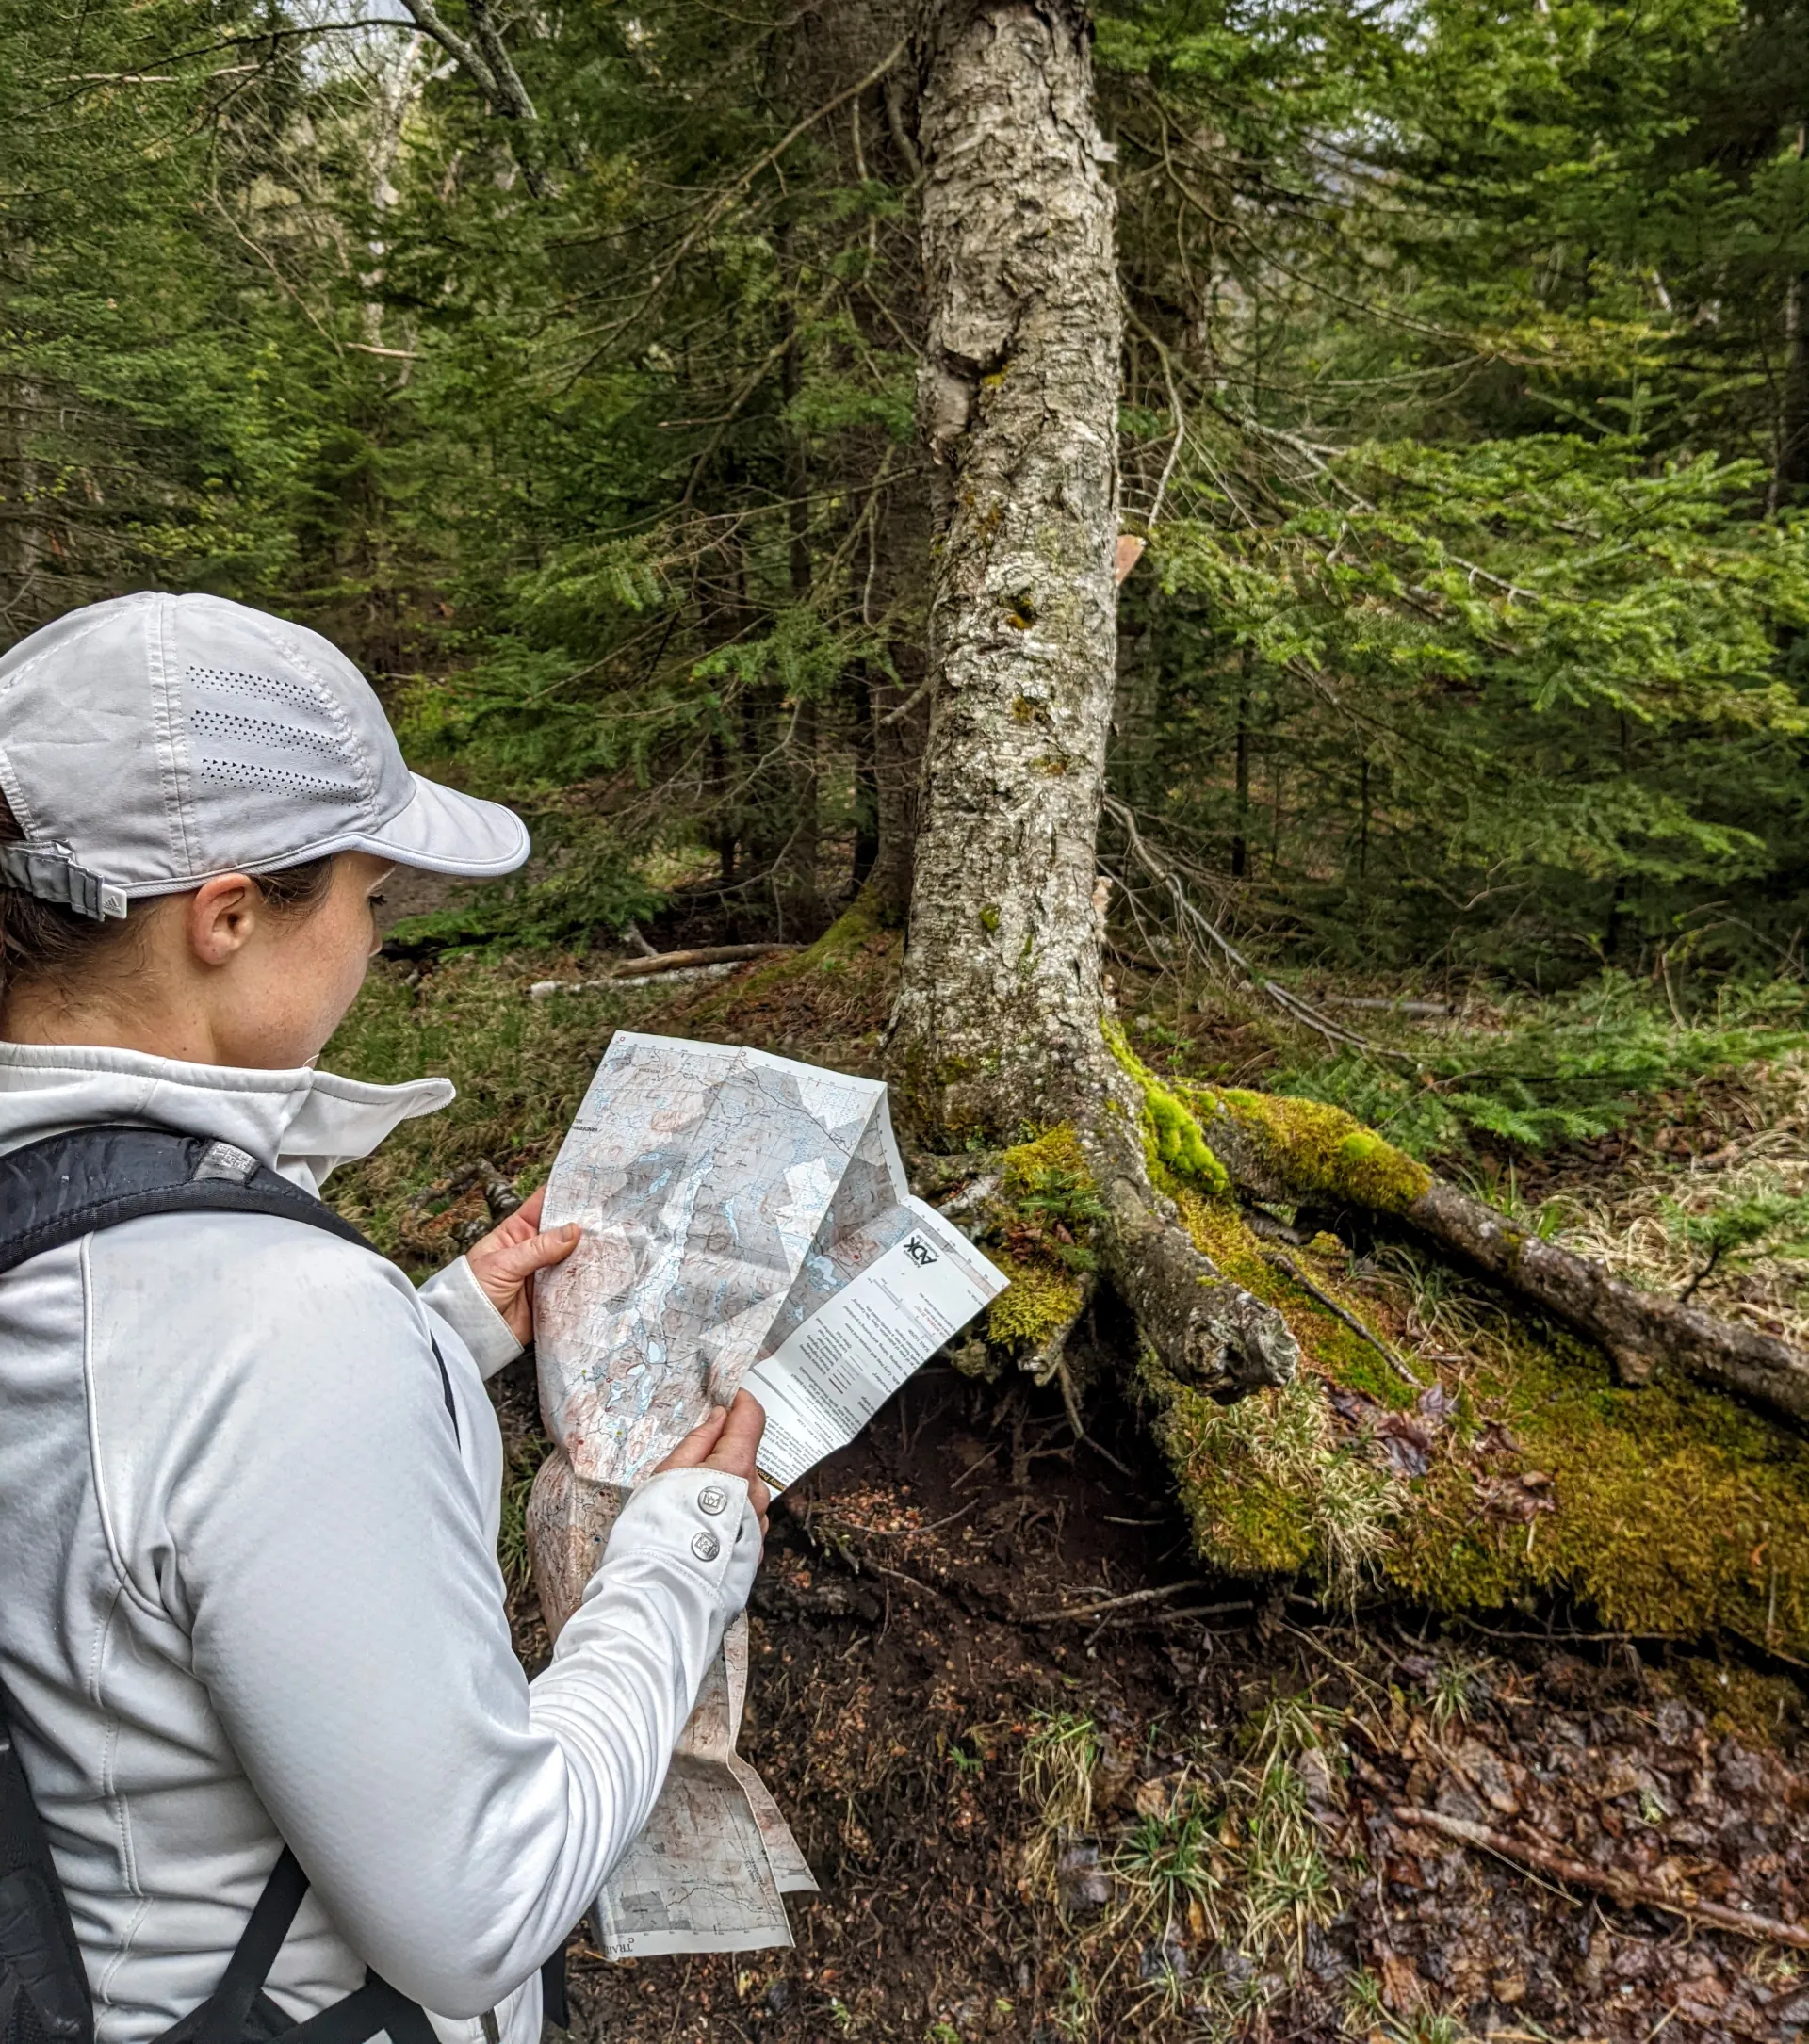
The first time you “see” your hike should not be during the hike itself. Before taking on any hike, look at a map and see the route you will be taking. Make a mental note of which way to go any time your trail splits in two different directions or runs into an intersection! (You will be so glad you did.)
And please, please, please bring a map — a good, ol’-fashioned paper map. While the Adirondacks are known for their beauty, they are not known for outstanding cell phone service. Paper maps do not require WiFi, bluetooth, battery life, or anything else related to the technological world. You open the map, you read it, and then you put it away (after a few minutes of folding and refolding it until you finally get it to close). It’s dependable and reliable, unlike a cellphone in the wilderness. Which brings me to tip #7…
Tip #7: Bring a headlamp.

Please bring a true headlamp with you! Do not depend on your cellphone for your light. Using your cell phone as a flashlight drains the battery, takes away the use of one of your hands, and doesn’t have a strong light. Headlamps are tried and true for showing the way. Have one in your bag at all times, even when (especially when) you don’t think you’ll need it. Things can happen during hikes — getting lost, choosing to go a bit longer, losing track of time while eating and chatting at the summit. You never know for sure if you will need one, and it’s always best to be prepared.
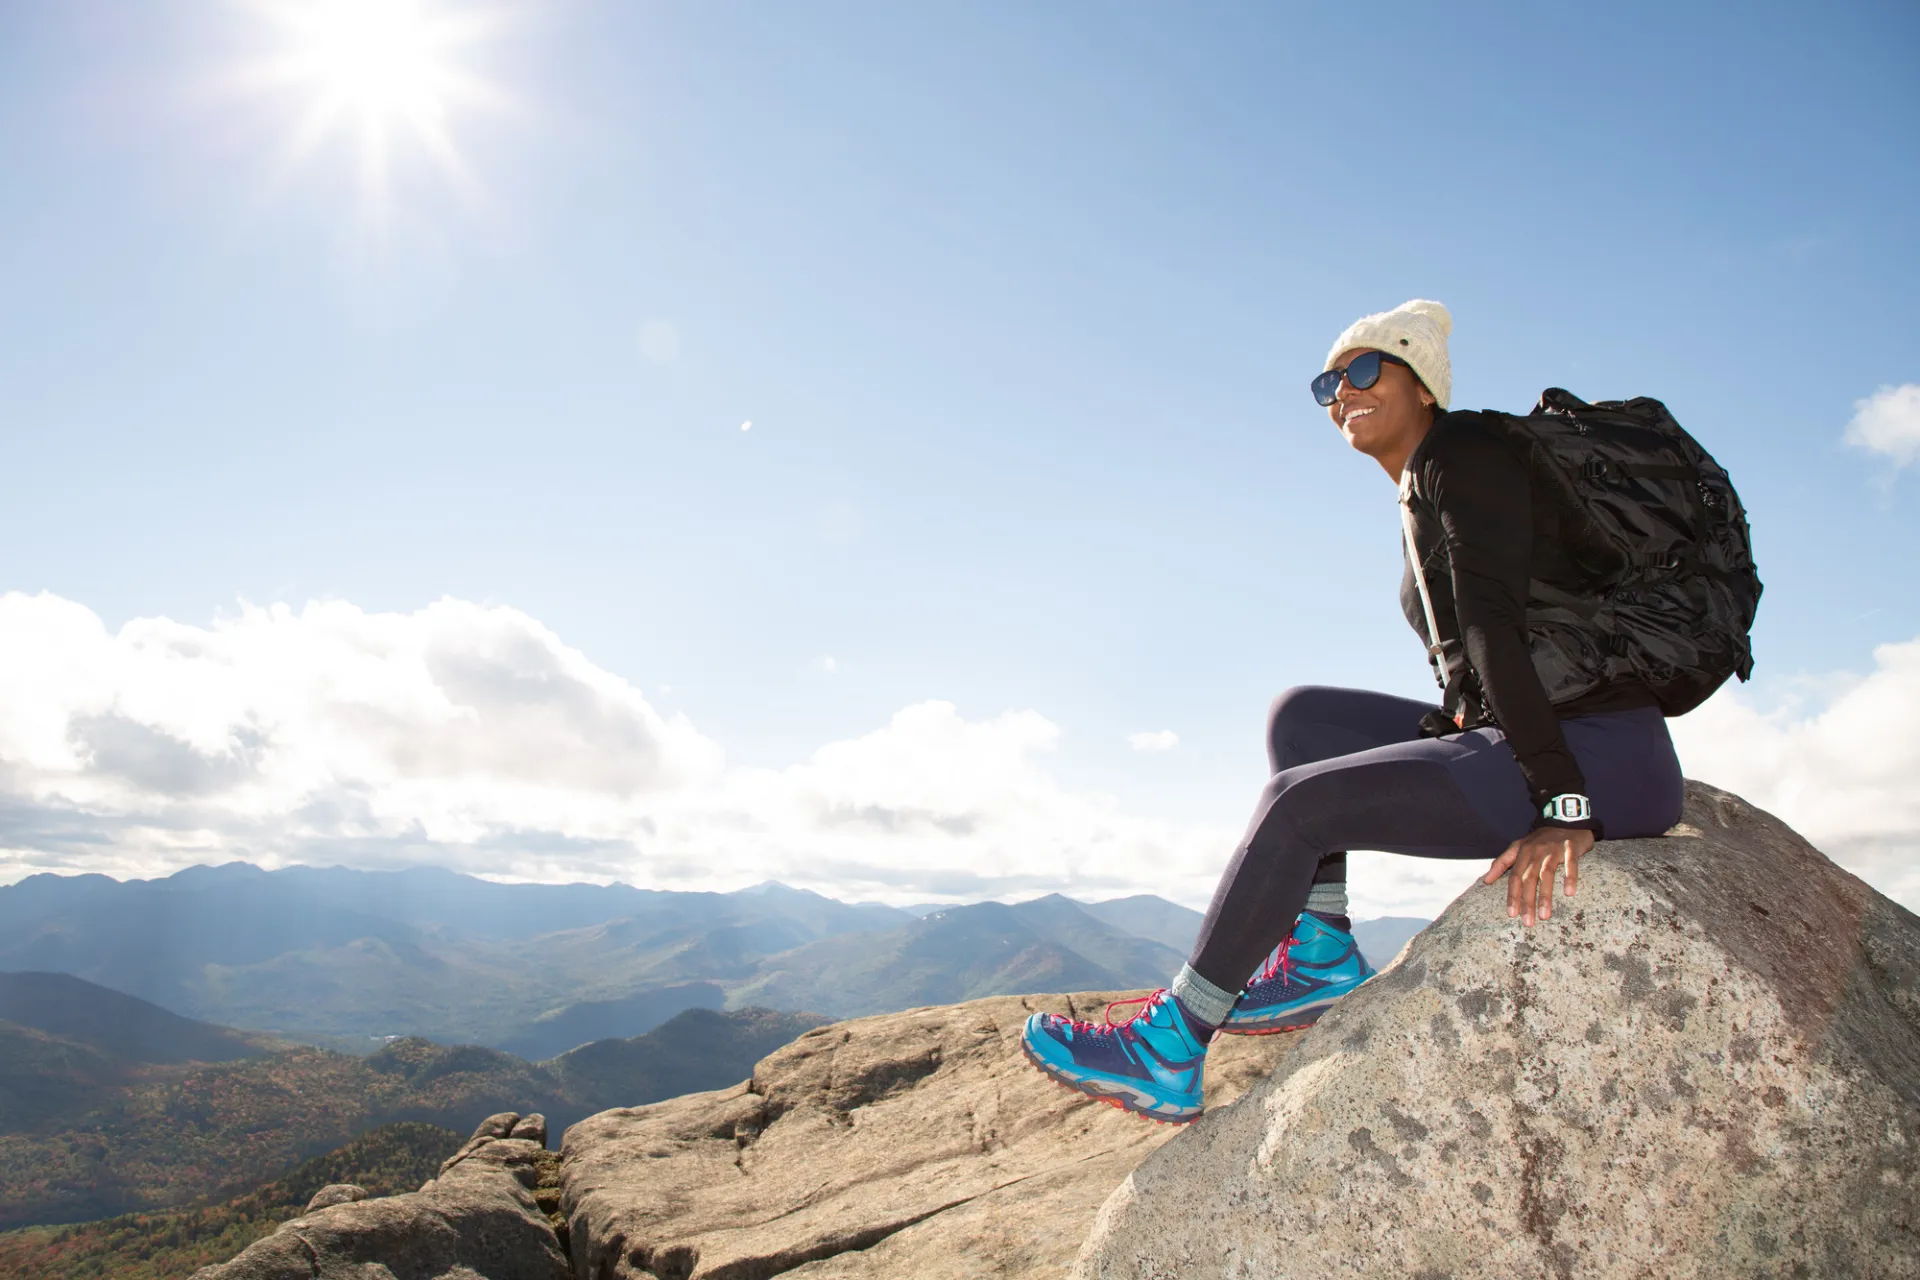
Tip #8: Your safety is more important than the summit
This is one of the most important concepts about hiking to keep in mind. Reaching the summit is never worth risking your safety. All sorts of things can cause a hike to be cut short: weather can change, energy levels can be low, the hike could be taking longer than expected, equipment could break or get left in the car, food and hydration could have been dropped…the list goes on and on.
Whenever you go out to hike, always have it in your mind that reaching the summit is a goal, not a requirement. The smartest hikers know when it is just not their day and are mentally strong enough to turn around early. The best part about mountains is that they aren’t going anywhere. The summit is always going to be there. Your getting there safely is what matters most.
Tip #9: Manage your four-legged hiking partners

Dogs are awesome, and we love them. But if you are hiking with your dog, please make sure to care for them in the following ways:
- Keep them on leash. Even if your dog is great off leash and friendly with other dogs and people, other dogs and people may not be as comfortable with your dog. Keep everyone safe and happy and keep your dog on his or her leash while hiking the trails.
- Make sure they are getting enough food and hydration, too! Even though they kick our butts on the trails, our four-legged friends are working hard. Keep them healthy and happy by making sure to bring enough food and water for the duration of their hike as well!
Tip #10: Sign in and sign out!
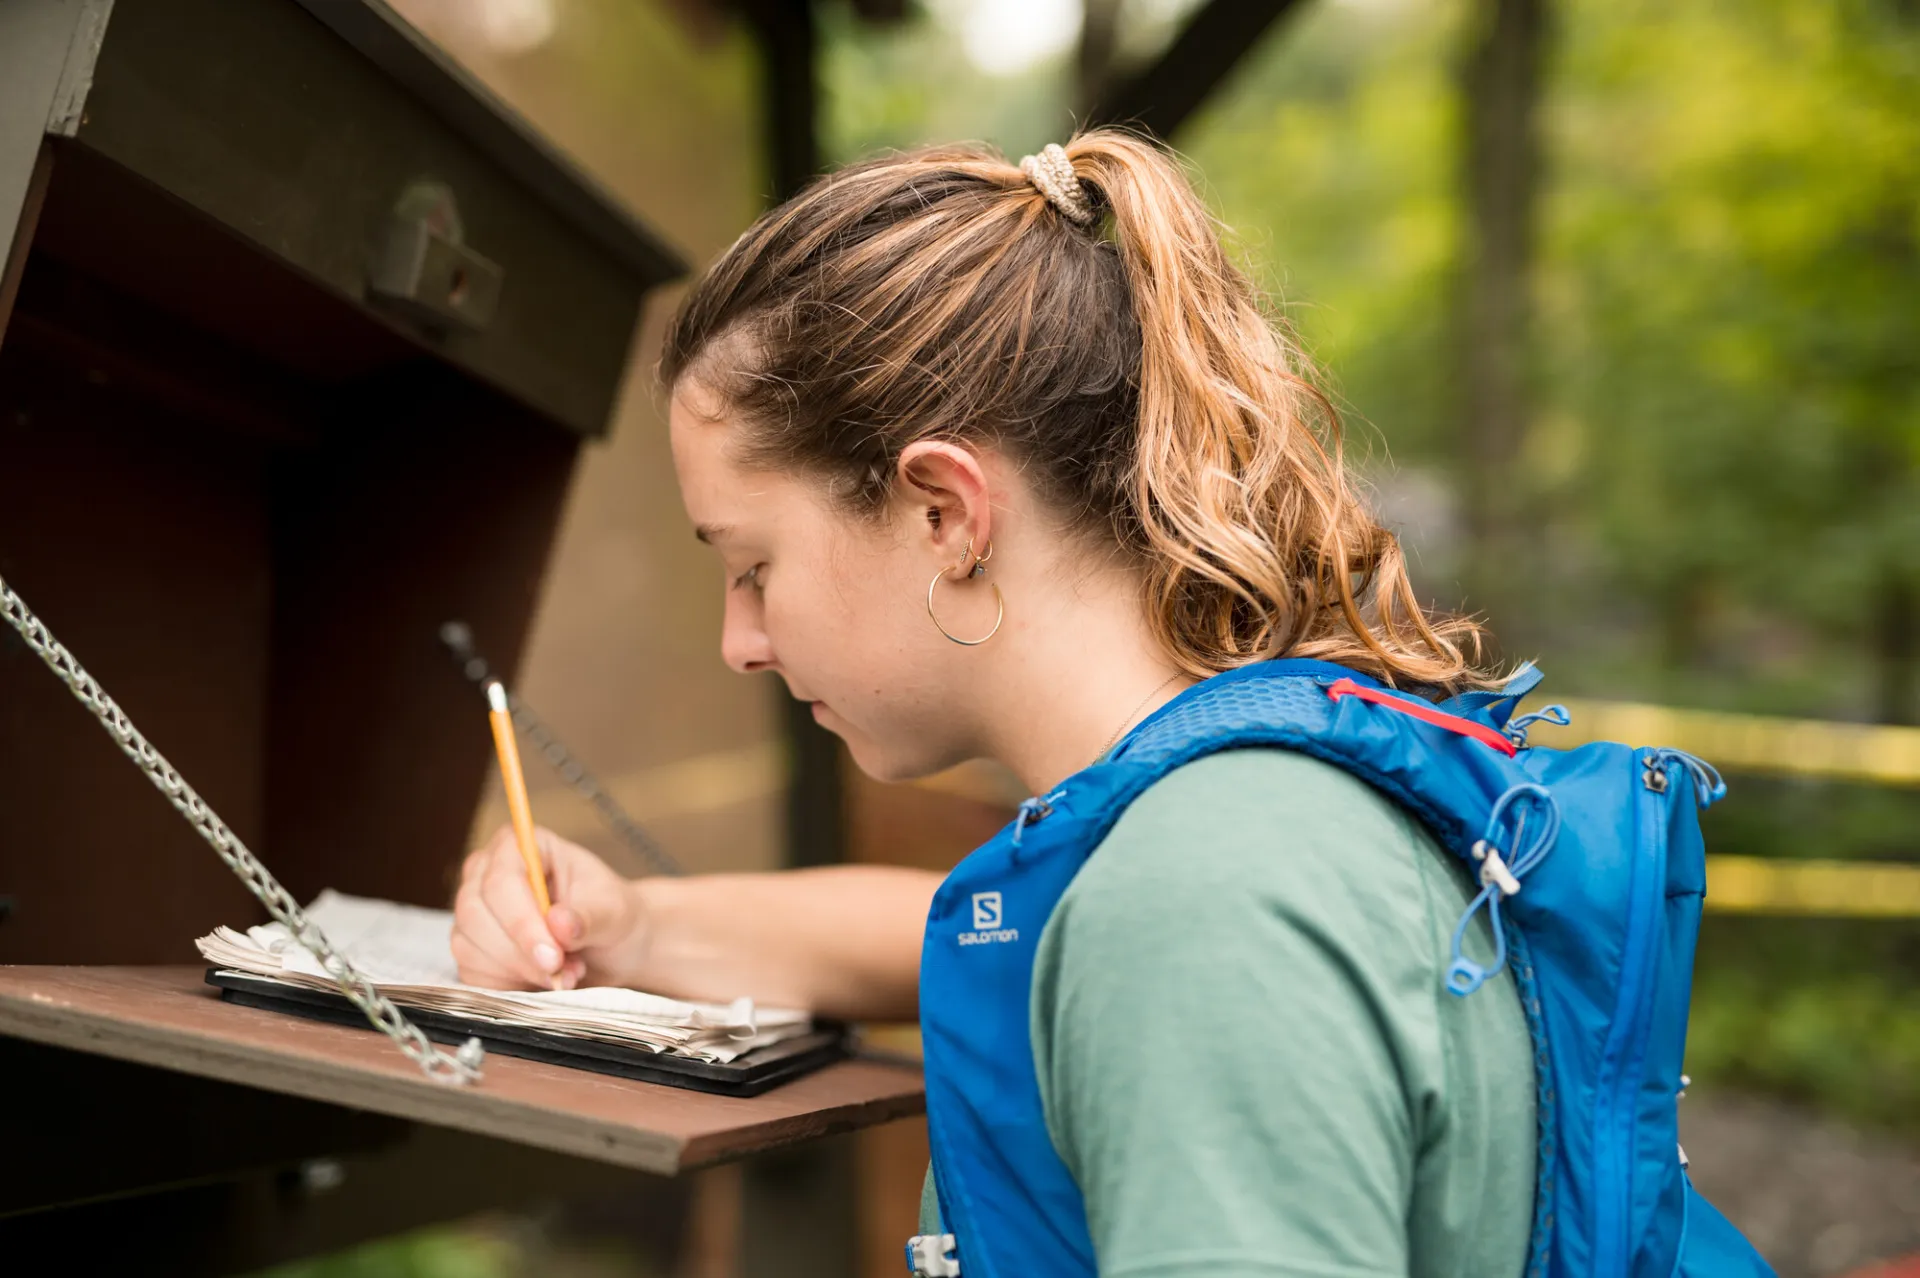
Always make sure to stop at the trail registry to sign you and your group in and out at the start and end of every hike! This helps to keep track of trail usage but, more importantly, allows forest rangers to know who is still out on the trails in the event of an emergency!
By following these ten tips, you and your hiking crew will have a beautiful, memorable, and safe experience on the Adirondack trails. If you are in need of any of the above mentioned items, stop by any one of our outdoor gear stores. Grab some snacks or a sandwich (or a burrito!) in town to take on your hike. When your done, treat yourself to a drink and a hearty meal at any one of our restaurants. Believe me — you will have worked up an appetite!
Before you head out, brush up on your Leave No Trace principles for more safe and responsible hiking guidelines to follow. Happy hiking!
Explore More
This summer, find a trip perfect for all your girls in Lake Placid

Lake Placid is one of the best places for a guys trip in the country. Lakeside golf courses, world-class breweries, and outdoor adventure combine here for the perfect trip.

Discover why Lake Placid is a rising astrotourism destination, with pristine dark skies, innovative lighting efforts, and unforgettable stargazing experiences. Explore the best spots to watch meteor showers, learn how locals are protecting the night sky, and get tips for your visit.
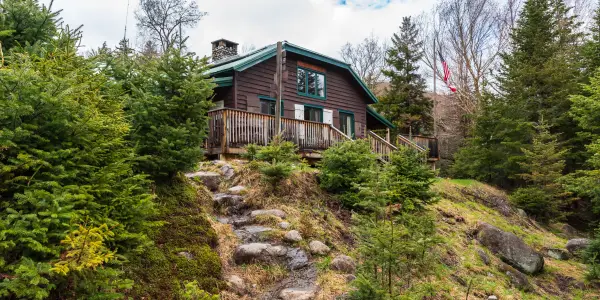
Johns Brook Lodge, New York state's only backcountry lodge open to the public, turns 100 this year! Celebrate by reading a bit about it, and booking a stay at this backcountry getaway.